How often do you find yourself avoiding the task of cleaning your oven because it seems too daunting? You’re not alone.
Many people dread it, yet a spotless oven is essential for the best cooking results and a pleasant kitchen environment. Imagine opening your oven door to reveal a gleaming, spotless interior that makes your entire kitchen feel fresher and more inviting.
That’s the power of a deep clean. In this guide, you’ll discover simple, effective steps to transform your oven from grimy to gleaming without the hassle. By the end, you’ll wonder why you ever put it off. Let’s dive into the secrets of achieving that sparkling clean oven you’ve always wanted.
:max_bytes(150000):strip_icc()/mld106991_0411_racks102_vert_0-dbd1ea24b48947afb4f61e72f3a51aea.jpg)
Credit: www.marthastewart.com
Preparation And Safety Measures
Gather necessary tools like gloves, cleaning solution, and a sponge before starting. Ensure good ventilation to avoid inhaling fumes. Use caution around heating elements to prevent accidents.
Before you dive into the task of deep cleaning your oven, setting the stage with proper preparation and safety measures is crucial. A clean oven not only improves cooking efficiency but also enhances the taste of your food by eliminating burnt residues and odors. Ensuring you approach this task with a well-thought-out plan can make the process smoother and safer. Have you ever started cleaning, only to realize you forgot a vital tool or step? Preparation can prevent such mishaps.1. Gather The Necessary Supplies
Start by collecting all the cleaning supplies you’ll need. This includes rubber gloves, a non-abrasive sponge, and a baking soda mixture or oven cleaner. Make sure you have a trash bag handy for any debris. Having everything within reach can save time and prevent the frustration of searching for items mid-clean.2. Turn Off And Cool Down The Oven
Safety is paramount. Ensure your oven is completely turned off and has had time to cool down before you begin cleaning. A hot oven can lead to burns and mishaps, so it’s worth the wait. If you’re in a hurry, consider cleaning another part of the kitchen while you wait.3. Remove Oven Racks And Accessories
Take out all removable parts of the oven, such as racks, trays, and thermometers. This not only makes them easier to clean separately but also provides better access to the interior of the oven. Did you know that soaking racks in a bathtub with dish soap can make them sparkle?4. Protect Yourself With Proper Gear
Wear old clothes that you don’t mind getting dirty. Put on rubber gloves to protect your hands from harsh chemicals and grime. If you’re sensitive to fumes, consider using a mask or ensuring good ventilation by opening windows.5. Ventilate The Area
Proper ventilation is essential, especially if you’re using chemical cleaners. Open windows and doors to allow fresh air to circulate. This can help disperse any strong odors and prevent you from inhaling harmful fumes.6. Read The Oven Manual
Before you start, quickly review your oven’s manual for any specific cleaning instructions or warnings. Some ovens have self-cleaning features or specific recommendations that can simplify your task. Have you ever discovered a feature you didn’t know about just by reading the manual? Preparation and safety measures may seem tedious, but they set the foundation for an efficient and hazard-free cleaning process. Taking the time to organize and protect yourself ensures that your deep clean will be thorough and effective. Plus, it leaves you feeling accomplished and ready to tackle more home projects. Are you ready to see your oven shine like new?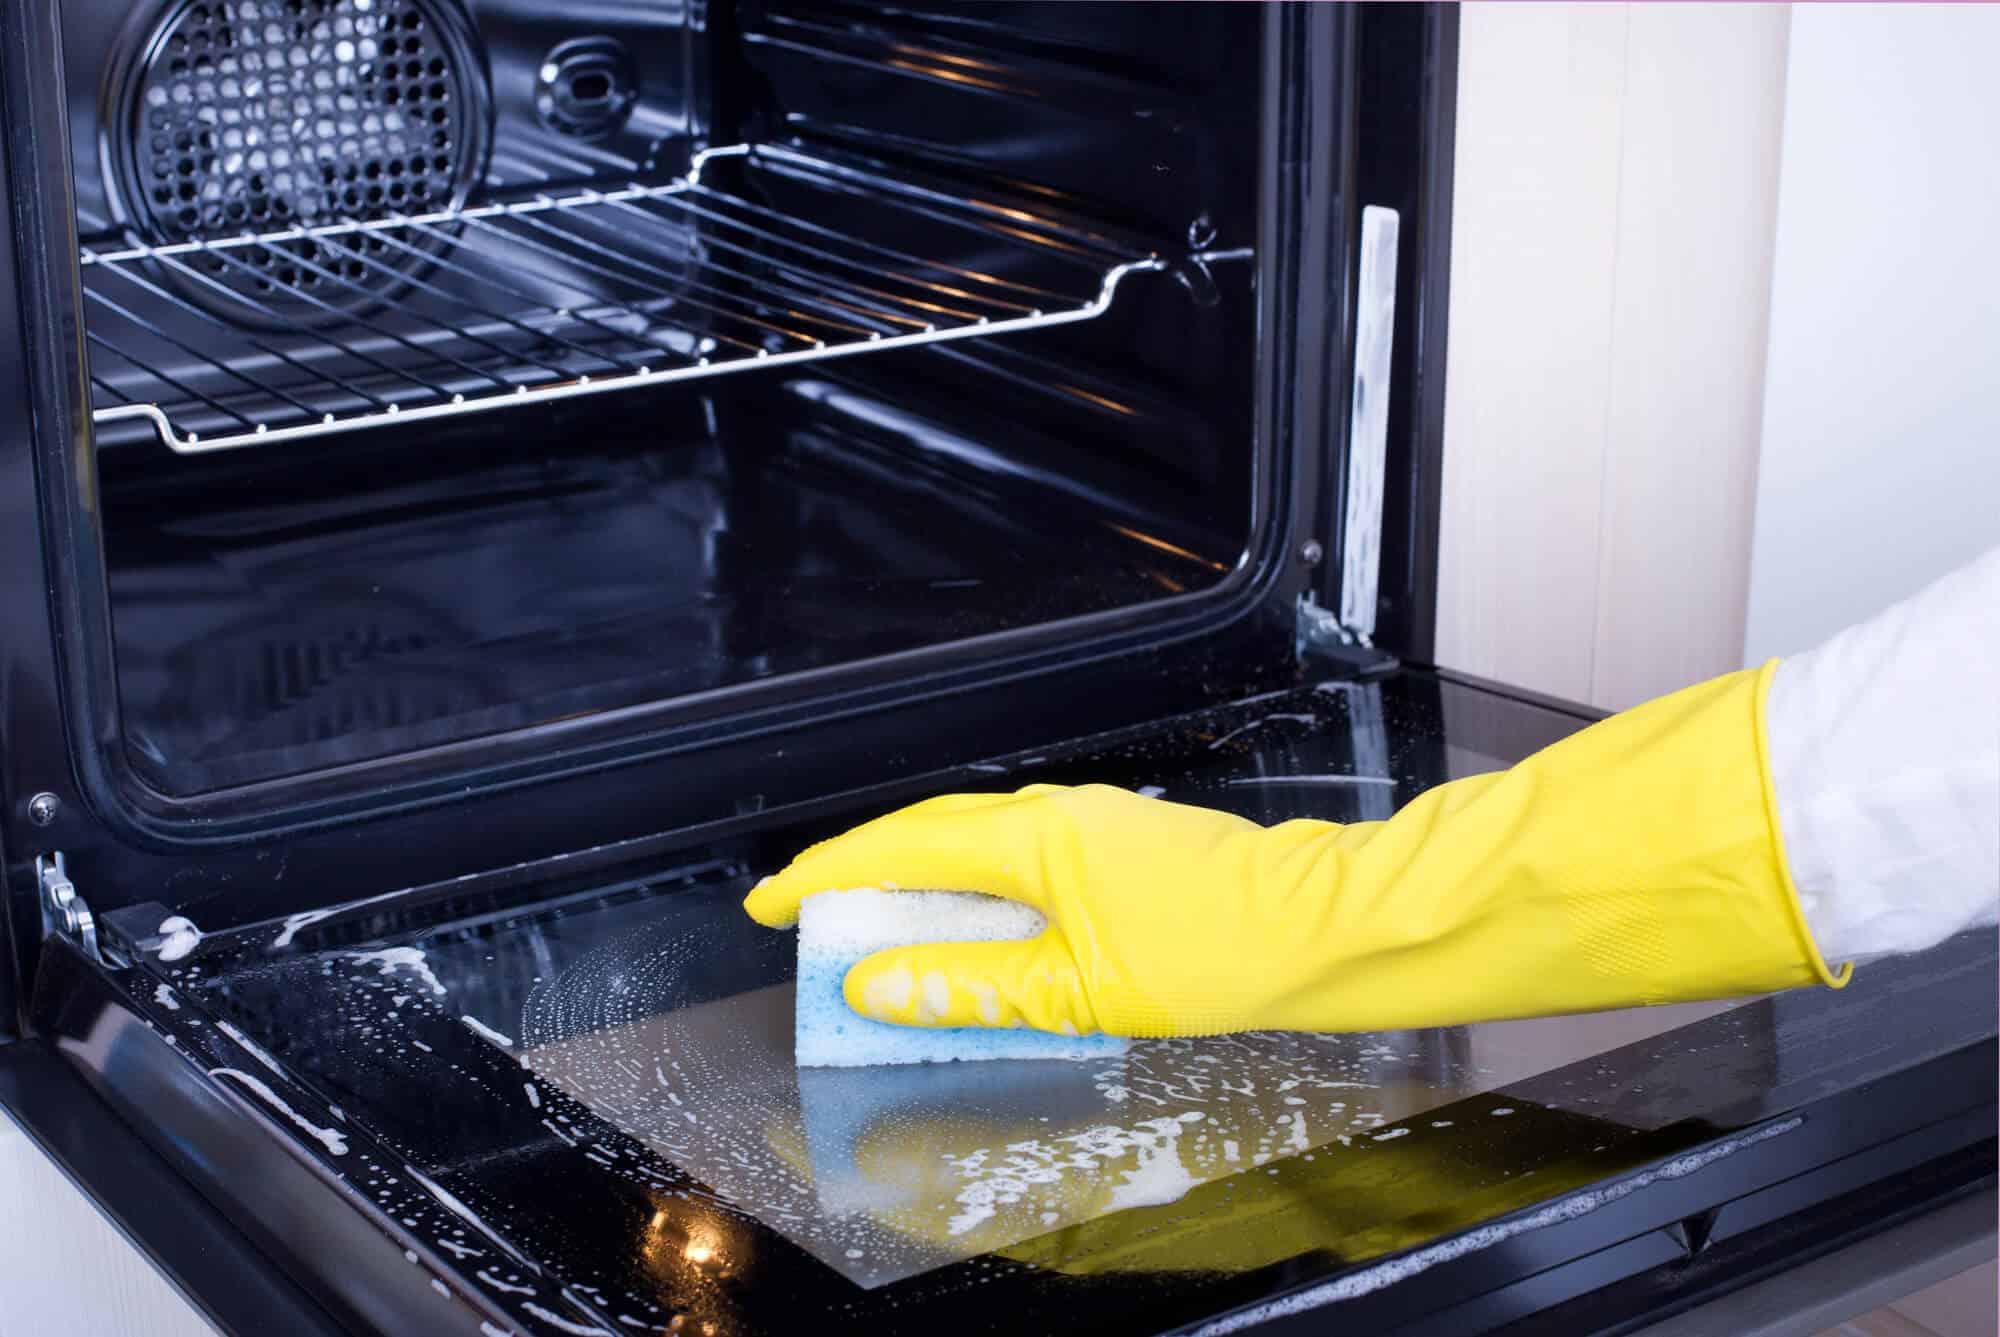
Credit: tidylifehappywife.com
Gathering Essential Cleaning Supplies
Cleaning an oven can seem like a daunting task. But with the right supplies, it becomes manageable and straightforward. Gathering the essential cleaning supplies is the first step. It ensures that the cleaning process is efficient and effective. Equip yourself with the right tools and materials to achieve a sparkling oven.
1. Baking Soda
Baking soda is a must-have for deep cleaning. It’s gentle yet effective. It removes grime without scratching surfaces.
2. White Vinegar
White vinegar works wonders as a natural cleaner. It helps cut through grease and leaves a fresh scent. Use it to rinse off baking soda residue.
3. Dish Soap
Dish soap helps in breaking down stubborn grease. Opt for a mild formula to avoid any damage. A little goes a long way.
4. Scrubbing Sponge
A scrubbing sponge is essential for tough spots. Choose one with a non-abrasive side. This prevents scratching the oven’s interior.
5. Cleaning Cloths
Microfiber cloths are perfect for wiping surfaces. They pick up dirt and grime easily. Keep a few on hand for different areas.
6. Rubber Gloves
Protect your hands with rubber gloves. They keep your skin safe from harsh cleaners. Plus, they make cleaning less messy.
7. Spray Bottle
A spray bottle is useful for applying vinegar. It ensures even distribution on surfaces. This helps in cleaning more efficiently.
Removing Oven Racks And Accessories
Deep cleaning your oven starts with removing the racks and accessories. This step is essential for a thorough clean. It allows you to reach every corner of your oven. Proper removal ensures no part is damaged during cleaning. Follow these simple steps for a spotless oven.
How To Safely Remove Oven Racks
First, ensure the oven is off and cool. Then, slide each rack out slowly. Grip firmly to avoid dropping. Place them on a flat surface. This prevents bending or damage. If racks are stuck, wiggle them gently. Do not force them out. It could cause scratches.
Cleaning Oven Accessories
Next, gather all oven accessories. This includes thermometers, trays, and pizza stones. Clean them separately using mild soap. Rinse thoroughly with water. Dry each item with a soft cloth. Ensure no soap residue remains.
Organizing Removed Parts
Keep removed parts organized. Store them in a safe area. This prevents loss or damage. Label small items if necessary. It makes reassembly easier. Once cleaning is complete, return them to their places.
Inspecting For Damage
Inspect each rack and accessory for damage. Look for rust or bends. Replace damaged parts promptly. A damaged rack could harm your oven. Regular checks extend the life of your oven. Keep it efficient and safe.
Cleaning The Interior Surfaces
The oven interior often becomes greasy and stained after regular use. Cleaning these surfaces thoroughly can enhance your cooking experience. A clean oven not only looks better but also functions efficiently. Let’s explore effective steps to clean the interior surfaces.
Remove Oven Racks
Take out the racks for easy access to the interior. Soak them in warm, soapy water. Scrub gently to remove stubborn stains. Dry them thoroughly before putting them back.
Use Baking Soda Paste
Mix baking soda with water to form a paste. Spread it on the oven interior. Let it sit overnight to break down the grime. Wipe off the paste using a damp cloth. This method is natural and safe.
Scrub Stubborn Spots
Use a non-abrasive scrubber for tough spots. Apply pressure to remove baked-on food. Focus on corners and edges where grime accumulates.
Wipe With Vinegar
Spray vinegar over baking soda residue. It reacts with the soda, making it easy to wipe off. Use a clean cloth to ensure no residue remains. This leaves the surface shiny and clean.
Finish With A Damp Cloth
Use a damp cloth for a final wipe. It removes remaining cleaning agents. This ensures the interior is ready for use. A clean oven enhances your cooking results.
Polishing And Final Touches
Achieve a sparkling oven with polishing and final touches. Focus on removing stubborn stains and grime. Wipe down every corner, ensuring surfaces gleam and shine brilliantly. Finish by inspecting the oven thoroughly for any missed spots.
After scrubbing away grime and wiping down surfaces, you might think the job is done. However, the true magic happens during the polishing and final touches. These steps not only make your oven sparkle but also ensure it functions efficiently. Cleaning an oven isn’t just about hygiene; it’s about creating an inviting space in your kitchen where you feel inspired to cook delicious meals. I’ve found that taking these final steps can be the difference between an oven that simply looks clean and one that feels brand new. Isn’t it satisfying to see your reflection in a shiny oven door? Let’s explore how you can achieve that perfect finish.Shining The Oven Door
A sparkling oven door can transform the look of your entire kitchen. Use a glass cleaner or a mixture of vinegar and water for a streak-free shine. Spray the cleaner onto a microfiber cloth rather than directly on the glass to avoid drips. Gently buff the glass in circular motions, paying attention to any stubborn spots. For stubborn residues, a paste of baking soda and water can be a game-changer. Apply it to the marks, let it sit for 15 minutes, then wipe away with a damp cloth.Polishing The Exterior
The oven’s exterior is just as important as the interior. Use a stainless steel cleaner if your oven has stainless steel elements to avoid streaks and fingerprints. Apply the cleaner to a soft cloth, and wipe in the direction of the grain. This small detail can make your oven look professionally maintained. If your oven has buttons or dials, a cotton swab can help clean those hard-to-reach areas. This attention to detail leaves your oven looking flawless.Checking The Oven Seal
The oven seal plays a crucial role in maintaining temperature. Check for any cracks or food debris that could affect its performance. Gently wipe the seal with a damp cloth to remove any dirt. A clean seal ensures your oven cooks evenly and efficiently. If the seal is damaged, consider replacing it to maintain your oven’s efficiency. This small investment can enhance your cooking experience significantly.Final Touches
Finish off with a quick check of the oven’s interior. Ensure all racks and trays are back in place and cleaned. Consider placing a small bowl of baking soda inside the oven to absorb any lingering odors. This simple trick can keep your oven smelling fresh between uses. Take a moment to appreciate your work. A clean oven is more inviting and can inspire you to try new recipes or cook family favorites with renewed enthusiasm. By investing a little extra time in these final steps, you not only enhance your oven’s appearance but also its performance. What small changes can make a big impact in your kitchen?
Credit: www.reddit.com
Frequently Asked Questions
How Do You Clean A Badly Dirty Oven?
To clean a dirty oven, remove racks and soak them in soapy water. Make a paste with baking soda and water. Apply it inside the oven. Let it sit overnight. Wipe off with a damp cloth, then spray vinegar to remove residue.
Dry thoroughly.
How To Deep Clean The Inside Of The Oven?
Remove oven racks and soak them in soapy water. Mix baking soda and water to form a paste. Apply paste inside oven, avoiding heating elements. Let it sit overnight. Wipe with a damp cloth. Use vinegar spray for stubborn spots.
Rinse thoroughly and dry for a sparkling clean oven.
How To Get Burnt Gunk Off The Bottom Of An Oven?
Use a baking soda and vinegar paste to scrub the burnt gunk. Rinse with warm water and repeat if needed.
How Long To Deep Clean An Oven?
Deep cleaning an oven typically takes 2 to 4 hours. This includes removing racks, applying cleaner, and scrubbing. Time may vary based on oven size and condition. Regular maintenance ensures quicker future cleanings.
Conclusion
Deep cleaning an oven keeps it efficient and safe. Regular maintenance prevents buildup. A clean oven cooks food evenly. It also reduces smoke and odors. Use simple tools and ingredients for cleaning. Baking soda and vinegar work wonders. Always unplug the oven before starting.
Check the manual for any specific guidelines. A clean oven is a happy oven. Keep it fresh for better meals. Enjoy cooking in a spotless space. Clean your oven often. It’s worth the effort for delicious results. Happy cleaning!