
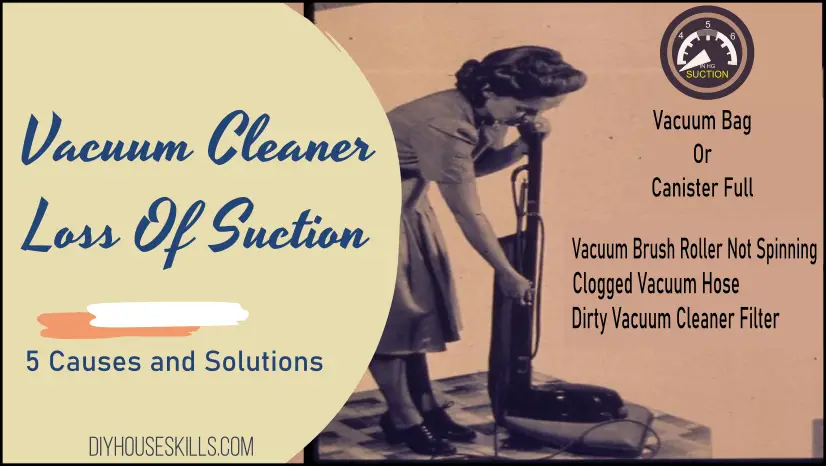
If you are asking why vacuum cleaner loses suction, start with airflow. A vacuum needs a clear path from the floor head to the dirt bin or bag. Even a small blockage can reduce the air that moves through the machine.
For most U.S. homes, the first checks are simple. Look at the bag or dust bin, filters, hose, floor head, and brush roll. These parts collect dust, hair, crumbs, and pet fur during normal cleaning. If the vacuum still has weak suction after these checks, the problem may need deeper service.
Why Vacuum Cleaner Loses Suction: The Most Common Causes
The answer to why vacuum cleaner loses suction often comes down to restricted airflow. A vacuum creates a pressure difference that pulls air and dirt into the machine. When that air path becomes blocked, suction at the floor can drop.
Some problems are easy to fix at home. Others point to a worn seal, damaged hose, faulty motor, or another internal issue. Finding the cause before replacing parts can save both time and money.
- ✦ Full dust bag or bin
A full bag or packed dust bin can limit airflow. Empty the bin or replace the bag when it reaches the level stated in the owner’s manual.
- ✦ Dirty filter
A clogged filter makes it harder for air to pass through the vacuum. Clean or replace the filter as the manufacturer directs.
- ✦ Blocked hose
Hair, paper, toys, and other debris can lodge inside the hose. A blockage can cause a sharp drop in suction.
- ✦ Blocked floor head
The opening under the floor head can fill with hair and debris. This can stop dirt from reaching the hose.
- ✦ Dirty brush roll
Long hair and thread can wrap around the brush roll. The roll may slow down or stop, making the vacuum seem weak.
- ✦ Air leak
A loose hose, cracked tube, damaged gasket, or poorly fitted bin can let air escape. The motor may still run, but less useful suction reaches the floor.
Airflow Matters More Than Motor Noise
A loud motor does not always mean strong cleaning power. If air cannot move through the system, the motor may sound normal while the floor head has poor suction.
This is why checking the full airflow path is useful. Start at the floor opening and move toward the hose, filter, bin or bag, and exhaust area.
- ✦ Follow the airflow path
Check each section in order instead of cleaning only the visible parts. This makes hidden clogs easier to find.
A Full Bag or Dust Bin Can Cause Weak Suction
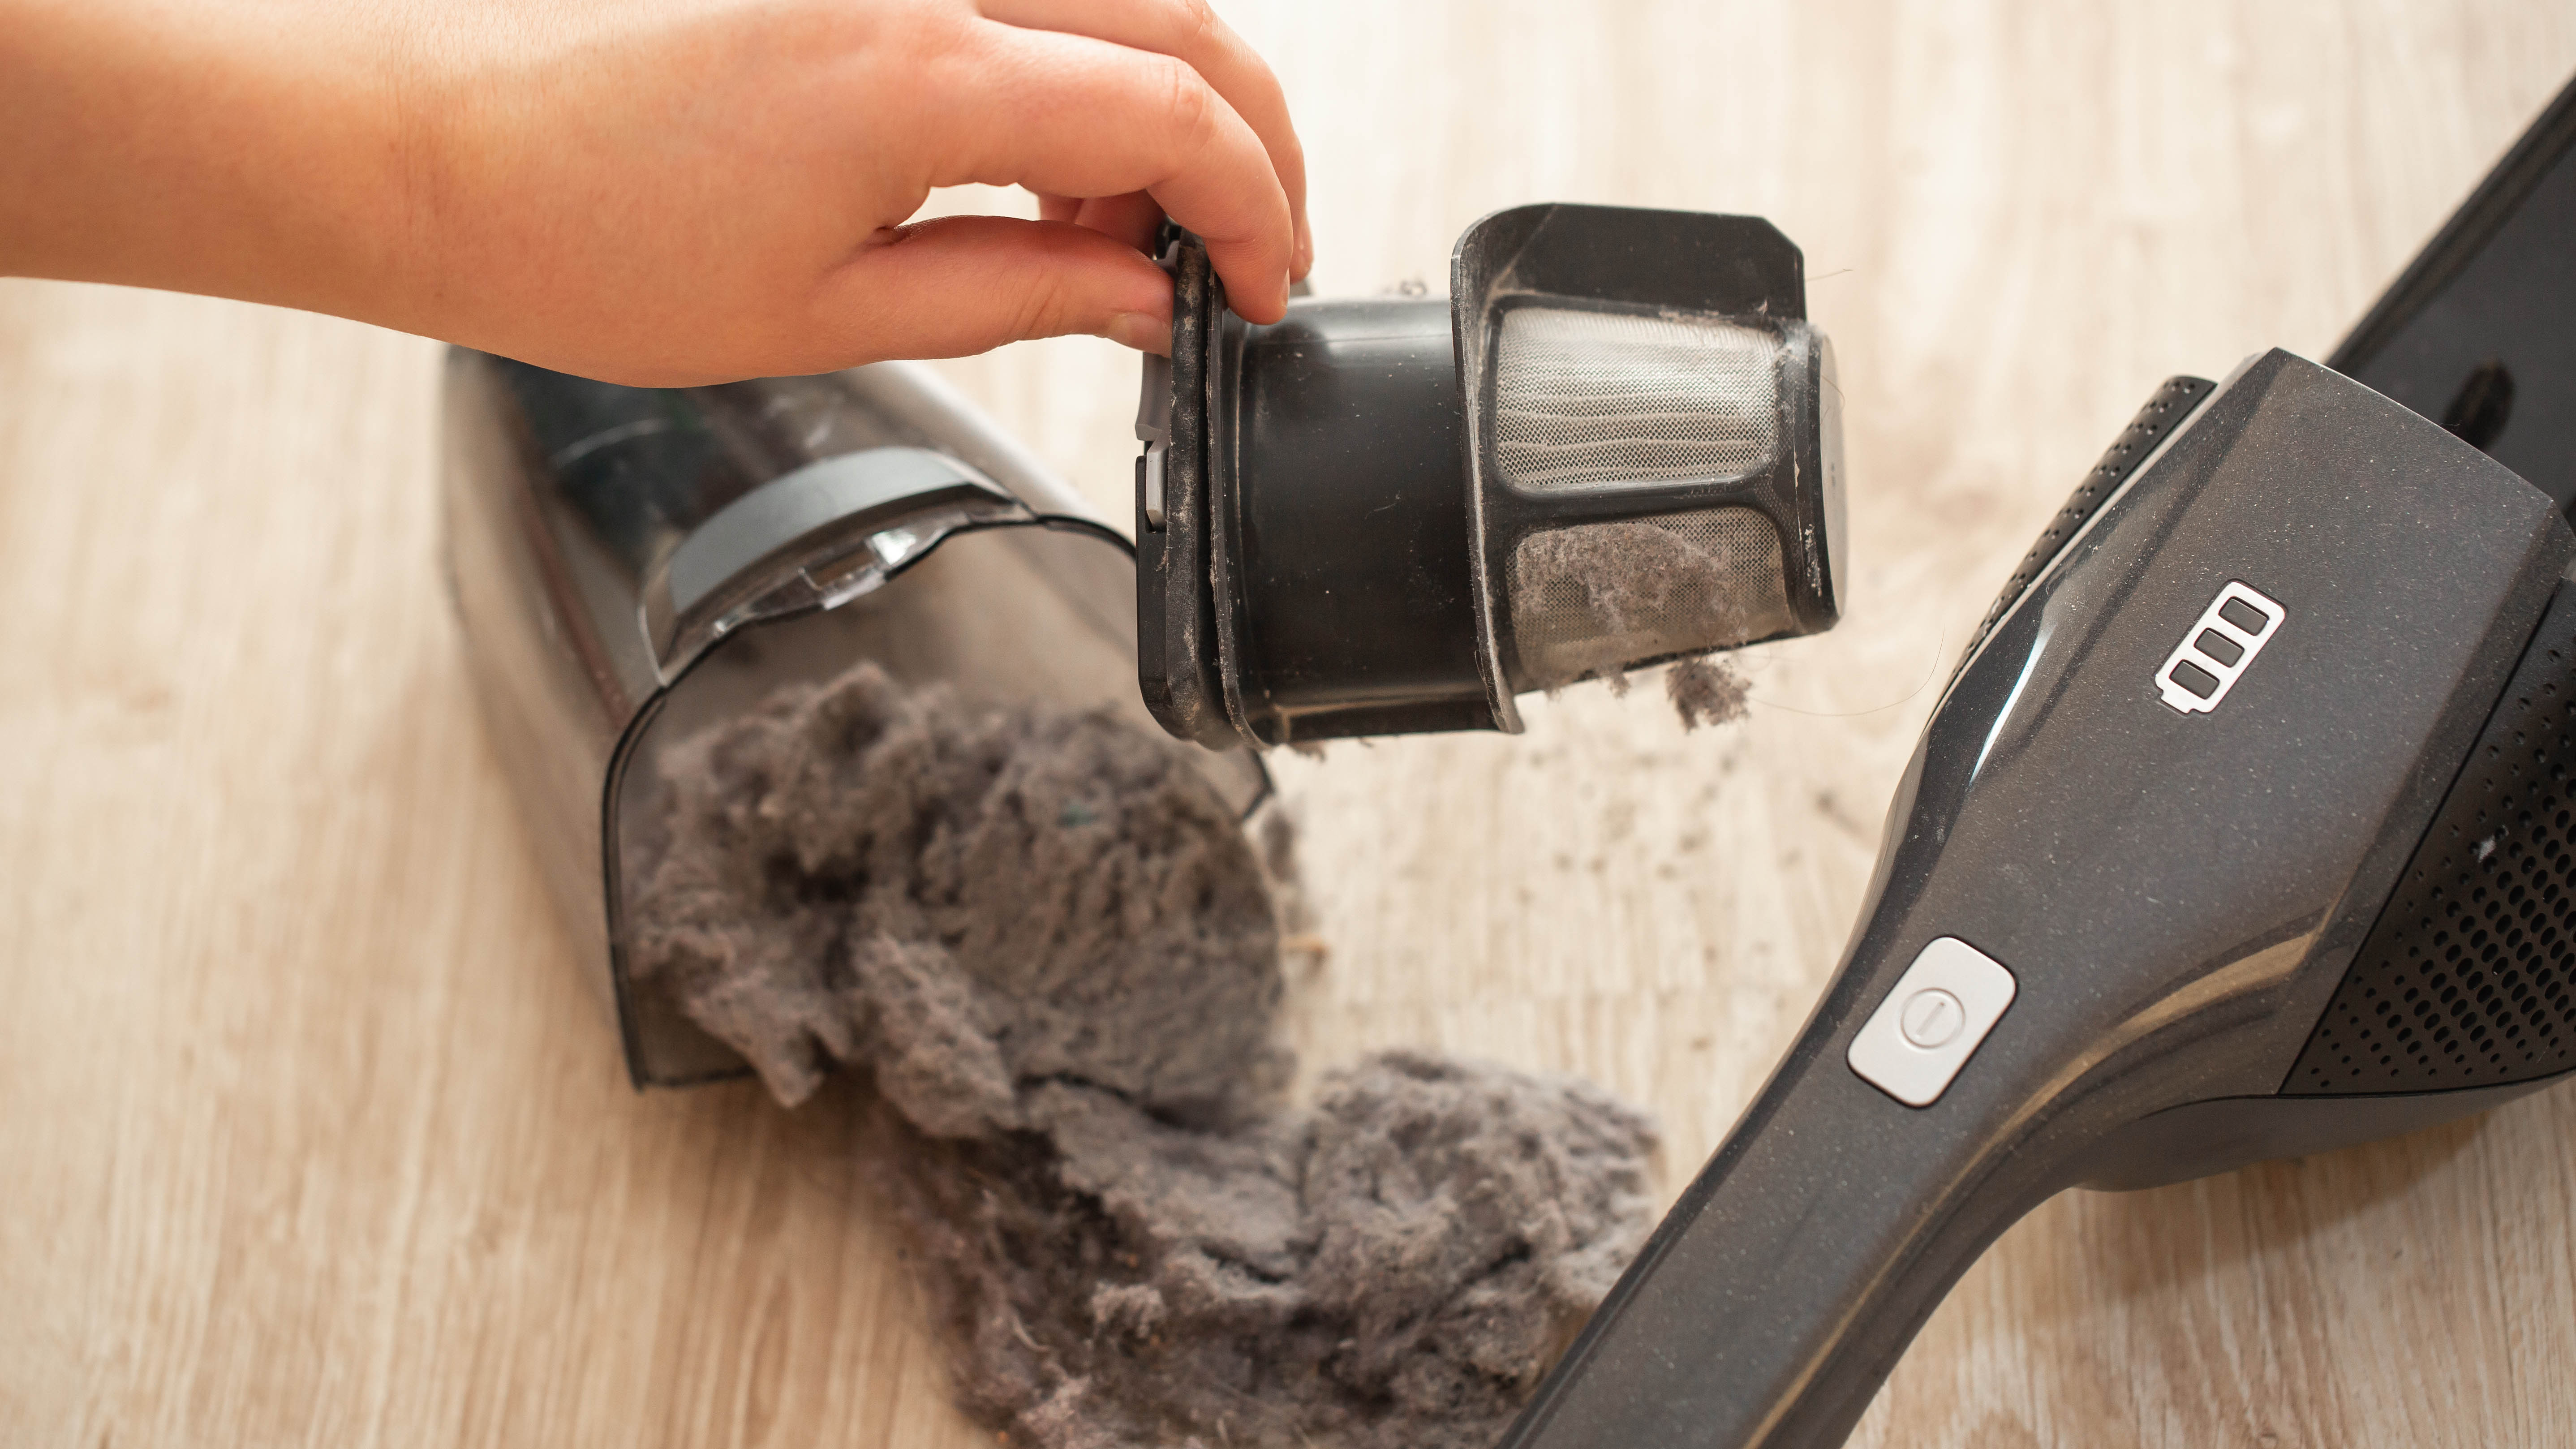
One of the first things to check when asking why vacuum cleaner loses suction is the dirt container. A vacuum bag can become packed with fine dust long before it looks completely full. A bagless vacuum can also lose airflow when its bin and nearby screens become coated with dust.
Empty the dust bin before it reaches the maximum fill mark. For bagged models, use the correct replacement bag and fit it fully. Never assume that a bag from a similar-looking model will work the same way.
After emptying a bagless vacuum, check for dust around the filter housing and air inlet. Fine dust can form a dense layer that reduces airflow even when the bin itself looks fairly clean.
- ✦ Check the fill line
Do not let the bin or bag stay above the maker’s recommended fill level.
- ✦ Inspect the inlet
Look for debris near the point where dirt enters the bin or bag.
- ✦ Use the right bag
If your vacuum uses bags, use the size and type listed for your model.
Why Fine Dust Can Be a Problem
Fine dust can settle deep inside a bag or filter. This dust may block air even when the container does not look full. Homes with pets, carpets, construction dust, or heavy daily use may fill filters and bags faster.
- ✦ Clean more often when needed
A busy home may need more frequent bin emptying and filter care than the schedule shown in a basic maintenance guide.
Dirty or Clogged Filters Are a Major Cause
A dirty filter is another common answer to why vacuum cleaner loses suction. Filters catch dust before air leaves the machine. As dust builds up, the filter can become harder for air to pass through.
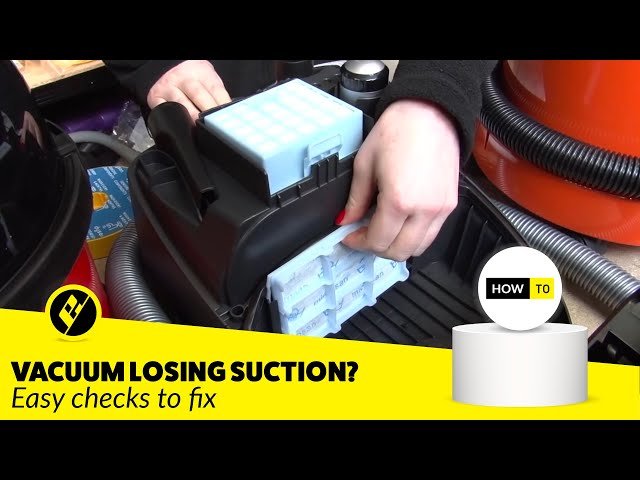
Some filters can be washed. Others must stay dry and need replacement. Check the owner’s manual before adding water to a filter, because washing a filter that is not washable can damage it and may cause other problems.
A washable filter should dry fully before you put it back. A damp filter can restrict airflow and may cause damage or odor. Never run the vacuum with a filter removed unless the manufacturer clearly says that the model allows it.

- ✦ Pre-motor filter
This filter protects the motor from dust and can become clogged with fine particles.
- ✦ Post-motor filter
This filter cleans air before it leaves the vacuum. It can also become loaded with dust over time.
- ✦ Washable filters
Wash only when the manufacturer says the filter is washable. Let it dry completely before reinstalling it.
- ✦ Replaceable filters
Replace filters at the interval set by the manufacturer or sooner when they remain dirty or damaged.
How to Check a Vacuum Filter
Turn off and unplug the vacuum first. Remove the filter as directed, then check for heavy dust, clumps, tears, or signs of damage. If cleaning does not restore airflow, the filter may need replacement.
- ✦ Do not guess
The correct filter care method depends on the vacuum model. Follow the maker’s instructions.
A Clogged Hose or Floor Head Can Stop Suction
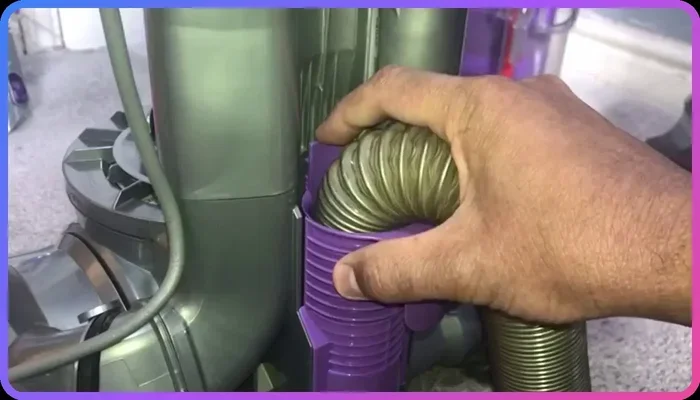
If the vacuum bin is empty and the filters are clean, inspect the hose and floor head. A clog can form at any narrow point in the airflow path. Common items include socks, paper, hair, food wrappers, and compacted dirt.
A hose can look clear from the outside while a blockage sits inside. Disconnect the hose only as the manufacturer allows, then inspect it from both ends. A flashlight can help you see deeper into a dark tube.
The floor head also deserves attention. If its air opening is packed with hair or carpet fibers, the vacuum may have strong airflow at the hose but weak pickup at the floor.

- ✦ Turn the vacuum off
Unplug a corded vacuum before checking for a clog. For a cordless model, turn it off and follow the maker’s safety steps.
- ✦ Check both hose ends
Look at the hose opening and the connection points. Debris often collects near bends and narrow sections.
- ✦ Inspect the floor opening
Remove visible debris from the intake opening without damaging the seal or internal parts.
- ✦ Check for hidden bends
Flexible hoses can trap debris in curves. Straighten the hose while checking for a blocked section.
How to Tell if a Hose Is Clogged
If the vacuum has poor pickup at the floor but good airflow at another point, the blockage may sit between those areas. A sudden change in airflow after moving the hose can also point to a partial clog.
Do not push sharp objects through a hose to remove a clog. You could puncture the hose or damage a flap, valve, or seal.
- ✦ Look before pushing
Use visual checks and safe cleaning tools recommended for the model instead of forcing an object through the hose.
The Brush Roll Can Make a Vacuum Seem Weak
A tangled brush roll is a common cause of poor cleaning, especially in homes with long hair or pets. Hair can wrap around the roll and stop it from turning at the correct speed. The vacuum may still make normal motor noise, which can make the problem easy to miss.
Before cleaning the brush roll, switch off the vacuum and unplug it when applicable. Follow the owner’s manual for access to the brush roll. Remove wrapped hair and thread with care, and check whether the roll turns freely when the design allows it.
If the brush roll is worn, cracked, or unable to turn after cleaning, it may need replacement. Some vacuums also use belts or other drive parts that can wear out and stop the brush from spinning.
- ✦ Hair buildup
Cut and remove wrapped hair only with a safe method approved for your vacuum.
- ✦ Brush roll damage
A cracked or badly worn roll may not clean well even when airflow is normal.
- ✦ Drive problem
A worn belt or failed drive part can prevent the brush from spinning on models that use one.
Suction Loss Versus Poor Pickup
A vacuum can have normal suction but poor pickup from the floor. A tangled brush roll, incorrect height setting, blocked floor head, or damaged nozzle can cause this difference. This is why checking the brush system matters when the machine does not collect dirt well.
- ✦ Test the airflow
Compare suction at the hose or other accessible point with pickup at the floor. A difference can help narrow down the fault.
Air Leaks Can Cause a Vacuum Cleaner to Lose Suction
Not every suction problem comes from a clog. A leak can also explain why vacuum cleaner loses suction. The vacuum depends on a fairly closed airflow system, so a loose connection can reduce the useful airflow that reaches the floor.
Inspect the hose, wand, bin, bag door, and other removable parts. Look for cracks, loose fittings, damaged rubber seals, or parts that do not sit in place. A faint whistle or unusual air noise can be a useful clue, although not every leak makes a clear sound.
Do not cover a damaged area with tape and assume the vacuum is fixed. Tape may be a temporary diagnostic step for some external hoses, but a damaged part should usually be repaired or replaced according to the manufacturer’s guidance.

- ✦ Loose hose connection
A hose that does not lock into place can allow air to enter before it reaches the intended airflow path.
- ✦ Damaged seal
A worn gasket or seal can create an air leak around the bin, bag door, or other connection.
- ✦ Cracked hose
Small cracks can grow with use and reduce airflow. Replace the hose if the manufacturer recommends replacement.
- ✦ Poorly fitted bin
A dust bin that is not seated correctly can prevent the vacuum from forming the intended seal.
When the Motor or Internal Parts May Be the Problem
If you have cleared the hose, cleaned the correct filters, emptied the bin or replaced the bag, and checked the brush roll, the problem may be deeper. A worn motor, damaged fan, electrical fault, failed seal, or internal blockage can reduce performance.
Motor problems often come with other signs. The vacuum may smell hot, shut off during use, make a new grinding or high-pitched sound, or lose power soon after starting. These signs call for more caution than a simple dirty filter.
Do not open a vacuum’s motor housing unless you are qualified to do so and the manufacturer permits service. Unplug the machine before any maintenance. If the vacuum has a burning smell, repeated overheating, sparks, or damaged wiring, stop using it and arrange proper service.
- ✦ Overheating
Restricted airflow can make some vacuums run hot. Repeated overheating can also signal a deeper fault.
- ✦ New motor noise
Grinding, rattling, or another sudden change in motor sound can point to an internal issue.
- ✦ Burning smell
A burning smell is not a normal suction problem to ignore. Turn the vacuum off and stop using it until the cause is checked.
- ✦ Electrical damage
Frayed cords, damaged plugs, sparks, or other electrical faults require safe repair rather than repeated testing.
When to Stop Troubleshooting at Home
Simple maintenance is usually safe when you follow the owner’s manual. Internal electrical or motor work is different. If basic airflow checks do not restore suction, professional service can help prevent further damage and reduce safety risks.
- ✦ Get service when needed
Seek qualified repair help when the vacuum has electrical damage, persistent overheating, burning smells, unusual motor noise, or an internal fault you cannot safely identify.
A Simple Step-by-Step Fix for Low Vacuum Suction
When you need to know why vacuum cleaner loses suction, use a simple process instead of replacing parts at random. Start with the easiest checks and move toward less visible parts. This approach can help you find a blocked airflow path without wasting money.
Always turn the vacuum off before inspecting parts. Unplug corded models, and follow the maker’s instructions for cordless models. Keep water away from electrical parts and never reinstall a washable filter while it is wet.
- ✦ Step 1: Empty the bin or replace the bag
Make sure the dirt container is not overfilled. Check the inlet for packed dust or debris.
- ✦ Step 2: Check the filters
Clean or replace each filter using the care method and schedule listed for your model.
- ✦ Step 3: Inspect the hose
Look through the hose and check its connections. Remove safe-to-reach debris without damaging the tube.
- ✦ Step 4: Check the floor head
Clear the intake opening and inspect the brush roll for hair, thread, and debris.
- ✦ Step 5: Check seals and fittings
Make sure the bin, bag door, hose, wand, and floor head fit correctly and show no obvious damage.
- ✦ Step 6: Test the vacuum
Reassemble the machine correctly and test it on a small area. If suction remains weak, look for model-specific service guidance.
How to Find the Exact Blockage
If your vacuum has removable hose sections, checking airflow between sections can help locate a blockage. A strong airflow at one point and weak airflow farther along the path suggests the restriction lies between those points.
This method is useful because it turns a broad question, such as why vacuum cleaner loses suction, into a smaller problem. You can then focus on one part instead of taking the whole vacuum apart.
- ✦ Work from the floor upward
Check the floor head first, then the wand and hose, followed by the bin or bag area and filters.
How to Prevent Vacuum Suction Problems
Preventing suction loss is easier than fixing a severe clog. The best routine depends on the vacuum model and how often you use it. A home with pets, children, carpets, or frequent messes may need more frequent checks.
Do not use a vacuum for materials that the manufacturer says it cannot handle. Fine construction dust, liquids, sharp objects, and other unusual debris can damage some household vacuums. Use the correct machine and attachments for the job.
Keep the owner’s manual or model number handy. Filter types, bag sizes, maintenance steps, and replacement schedules vary across brands and models.
- ✦ Empty the bin often
Do not wait until the dust container is packed if your home creates a lot of debris.
- ✦ Maintain filters
Clean or replace filters based on the manufacturer’s instructions and actual use.
- ✦ Clean the brush roll
Remove hair and thread before they form a thick layer around the brush.
- ✦ Check the hose
Look for early signs of blockage, cracks, and loose connections.
- ✦ Use the right attachment
Choose the tool made for the surface and type of debris. This can reduce strain and improve cleaning.
- ✦ Replace worn parts
A worn filter, hose, seal, brush, or other service part can reduce cleaning performance.
A Practical Maintenance Routine
For regular home use, make a quick bin, brush, and hose check part of your cleaning routine. Check filters on the schedule set by the manufacturer, and check them sooner if suction drops.
This simple habit can help you catch the reason why vacuum cleaner loses suction before a small airflow problem becomes a larger repair.
- ✦ Watch for changes
A gradual drop in pickup is often worth checking early. Do not wait for the vacuum to stop working.